Over a year ago I picked up a 55W CO2 laser to help with cutting templates and other practical parts. However, I decided to explore the world of laser engraving over the holidays and ended up with plenty of fun projects and gifts as a result!

Early Raster Engraving
The first thing I tried was jumping directly into raster engraving photos onto wood! Without knowing how complex this process could get, I boldly stumbled my way through setting up RDWorks for an engrave, watching just enough YouTube tutorials to figure out where all of the right buttons were. I was cropping and prepping photos in MS Paint right before dropping them into the laser software. The results were not great, but I was still very excited about the potential!

The first thing I was surprised to learn was that lasers don’t reduce their power while raster engraving to achieve different greyscale tones. Instead, they basically act as dot-printers, always engraving at a predetermined power that produces a nice black color in a crisp small dot. Software such as Lightburn or RDWorks can transform a black and white image into the appropriate dot pattern using one of many different algorithms.
My first attempts used the ‘net graphic’ algorithm in RDWorks (because the first YouTube video I found happened to use it). Later, I switched to the ‘dot graphic’ algorithm after learning more about matching picture resolution to machine performance. Below you can see the difference between the two algorithms at the same (254 dpi) resolution. While I think the net graphic algorithm might have provided better contrast between light and dark areas, the dot graphic algorithm definitely allows for more detail to come through.


Much later, a friend introduced me to ImagR, a website which helps prepare photos for laser engraving. If I ever revisit photo engraving I will definitely be giving this tool a try as an alternative to the two algorithms inside RDWorks.
Using Map Data
I had two gifts in mind for Christmas that involved laser-cutting map data onto a wooden cutting/serving board (how original). One was a map of Brooklyn, with a marker where my brother-in law’s family lives and the other was a stylized version of Amelia Island, where my mother lives, as part of a letter ‘B’.
I started by using Google Maps Styling Wizard to create clean map data. Switching to their dark theme was a great start, but I also used the sliders to remove things like labels and really small roads. This got me 90% of the way to the image I wanted.


Next, I opened up my trusty MS Paint to make some modifications. I deleted Manhattan, along with some other islands and inland waterways. Then I manually trimmed back the roads that turned into bridges and re-colored all of the roads to be the same color. I made the water white (not engraved) to complete the map work.

I ran into a roadblock when I realized MS Paint would not be able to add a text overlay with their names and a marker at their home location. I turned to google and YouTube for advice and decided to install and learn Inkscape to handle the next step in the process, which would have also made many of the earlier steps easier!
I did most of my test cuts on poplar, which burns cleanly and has a very uniform, neutral, low-grain background color for lasering. For this map image, I wanted the landmass to be black, the water/background to be non-engraved, and the roads to be semi-engraved (with contrast to the land and water). To achieve this, I was playing with both speed/power settings within RDWorks along with a contrast adjustment slider inside RDWorks. While this did let me dial in settings that worked on poplar (eventually) when I transitioned to the nice acacia wood board for the final cut it ended up deeper and darker than I expected, with more contrast from the grains and glue-up than I hoped. One thing that did work out well was the trick of running a low-power vector engraves as an outline along features that you want to ‘pop’, like the water/landmass borders or the name borders.


For the other cutting board, I wasn’t even trying to include a mid-color (just pure black and white) which made it a bit easier. I did need to flex my new Inkscape skills to edit the map of Amelia Island and turn it into the letter B. I used lower power settings on this engrave, and the image turned out a kind of colorful, textured, golden-brown instead of a charred black. Later, I read that there are some interesting wetting and sanding tricks you can use with wood (especially acacia wood) to mess with the grains and get different results.


Overall, I think these first gifts turned out OK. I definitely learned a lot, but my family members deserve nicer gifts in the future once I’ve really mastered the laser!
Multi-Colored Ornaments
Late into the cutting board project I learned more about how to manage greyscale colors in Inkscape to balance the colors more objectively than with a slider in RDWorks. I used some calibration gradient images to find a series of power/speed/dither settings that could reliably produce a variety of ‘greys’ in poplar engravings. With a handful of colors now at my disposal I decided to laser-engrave a wooden cube for the ornament exchange at my local makerspace.
I grabbed their logo (which they have available as a vector graphics file on their website) and broke the four symbols into four different layers in inkscape. For each image I basically chose some fills as my ‘dark’ color and some as my ‘light’ color. I also made a common border to be vector-engraved around the image and a text-only image for the bottom. Again, I used my trick of vector-engraving the outline of a raster-engraved image to help make the image ‘pop’ (see the video below to witness the circuit board image really come to life with the extra contrast provided by the vector engrave).
Adding a little bow and a wire hook really turned the wooden block into a classic ornament! It turned out so well that I decided to repeat the process to make different custom ornaments for my two nieces that I would see at Christmas, as well as my mother-in-law.


Full Greyscale Images
After learning so much I wanted to try and tackle full 8-bit greyscale images again (although maybe not photos). There is a fun artwork style I see a lot on national park imagery that uses a variety of solid colors to form a graphic which i think would be a great fit for the capabilities of laser engraving. I used Inkscape to transform the image to black and white before exporting to a bitmap.


I started doing more YouTube research and found a ‘scientific’ approach to picking your laser engrave settings that I really liked. The basic premise was to back out the pixel density, speed, and power based on the performance characteristics of your machine. The steps are:
- Determine the spot size of a single laser dot from your machine (probably around 0.1-0.2 mm diameter). This becomes your pixel size and impacts the DPI of any bitmap image you export from Inkscape to RDWorks.
- Determine the minimum firing time of your laser, probably around 2-3 milliseconds. This determines the maximum raster scan speed of your laser so that you can guarantee that a single pixel is a dot and not a line.
- Determine the optimal power setting for a single dot burn (too low and you don’t get any black, too high and you get a fuzzy brown border around your dot).
I had been assuming that my laser dot size was about 0.1mm (the theoretical size based on the focal length of my lens) but the calibration showed me that I was actually closer to 0.2mm diameter for a crisp, black dot. This results in a measly 127DPI image (half of the resolution I was using earlier) but with much better control of the light/dark engraving scale without burning deep into the wood on the darkest settings. I did a side-by-side test of the same image with a process assuming a 0.1mm dot size vs a 0.2mm dot size (see below, ignoring the mistakes I made like dropped outlines and missing fonts in the 0.1mm image on the left)

Getting the think outline vector engrave on these more complicated images can be a pain when using the Inkscape and RDWorks process I got used to, because often there will be multiple disconnected lines on each border that need to be custom trimmed to length or selectively removed. I ended up importing the Inkscape DXF output into SolidWorks so that I could load the profiles into a sketch and use the ‘power trim’ feature to quickly whittle away all of the lines I didn’t need. I’m not sure if there is a better workflow outside of SolidWorks, but this method is working for me for now.


I’m very excited about these initial results and think there is a lot of potential for fun projects using this technique. I purchased a pack of national park imagery on Etsy and I’m excited to try and make a set of coasters. I also picked up a shorter-focal-length lens for the laser which should allow me to increase the resolution of the images (by decreasing the dot size) in the future.

Functional Projects
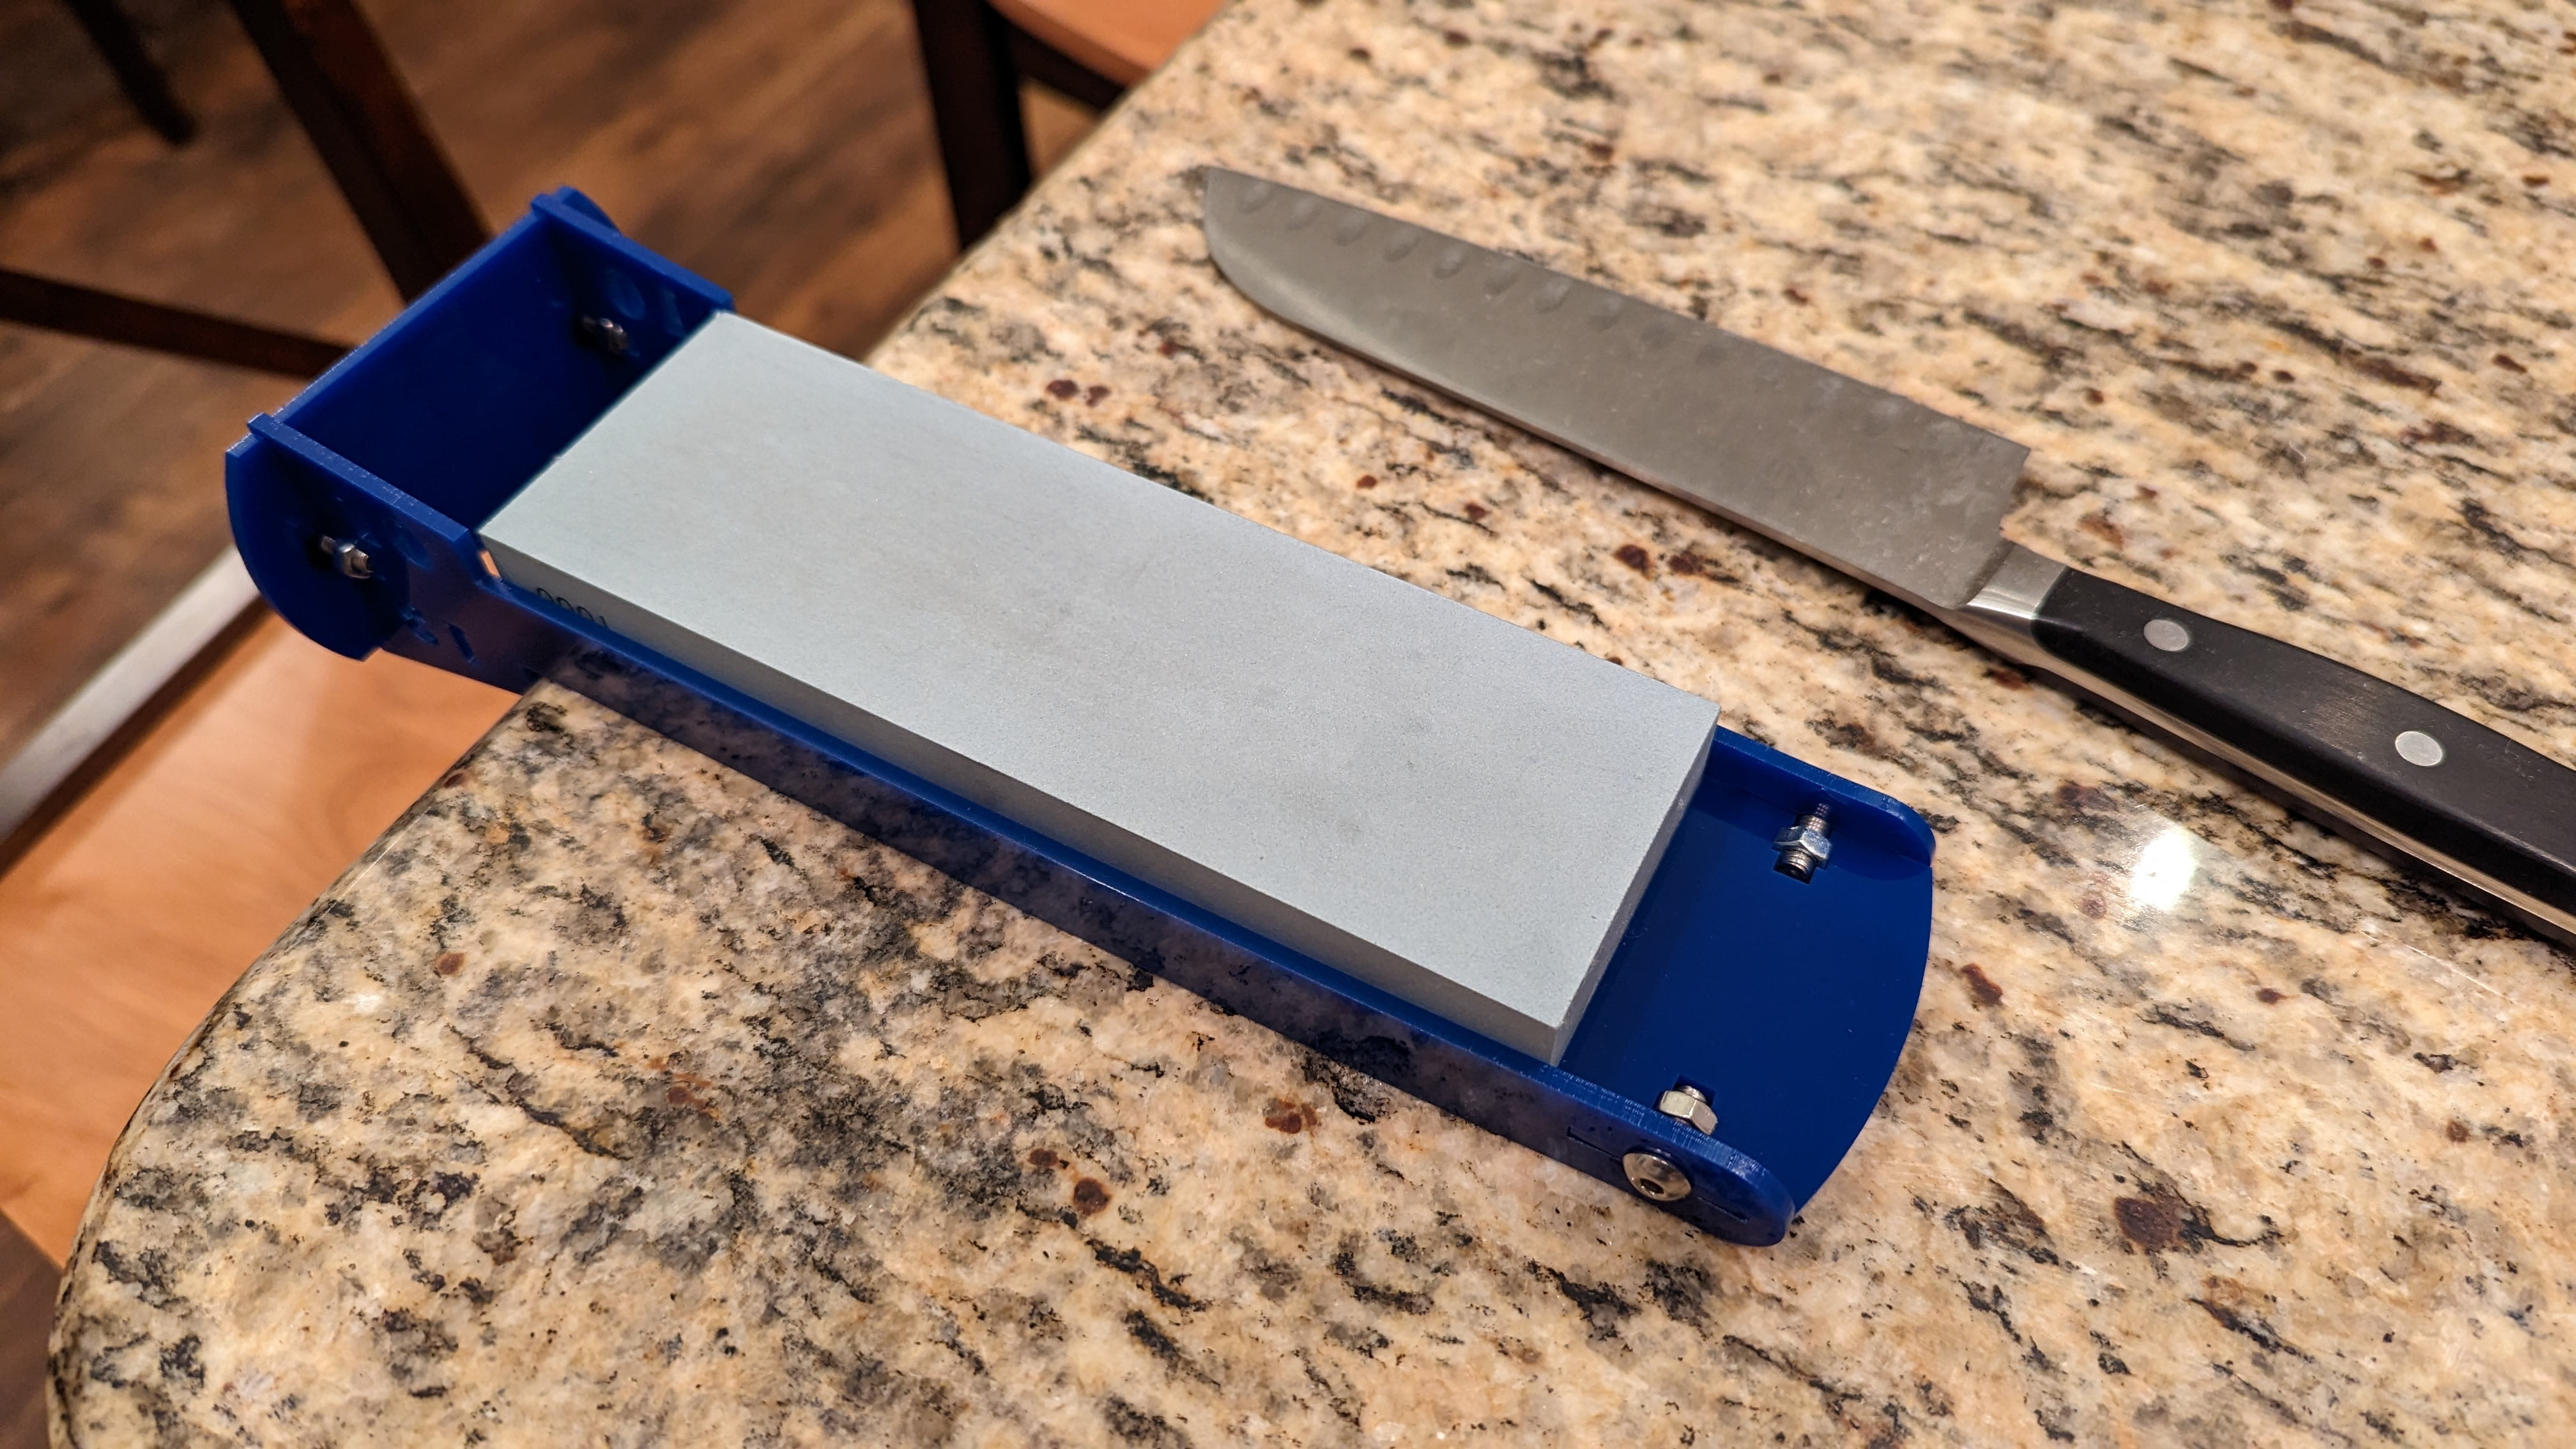
One other Christmas ‘present’ I made was more functional than artistic. We have a cheap knife sharpening block that we use on kitchen knives at home, but it is hard to set the blade angle before sharpening and the block tends to slide away from you while you use it. I designed a little assembly made from 3mm acrylic that holds the block against the edge of the counter and provides a reference angle (both 10 and 13 degree) for the knives before each sharpening stroke.
This was my first cut through acrylic on my laser, so it was a good learning experience before I need to cut a few parts for the CNC Router project. I hadn’t done a functional laser cut acrylic assembly since college (over 10 years ago now!) and it was fun to re-visit some of the neat assembly tricks like captive nut slots.


After the holidays I got involved with a few different projects at my local makerspace (building a vacuum forming machine and a circular sock knitting machine). For both projects there were several structures that needed to be laser cut and I was excited to push the limits of my laser. There were plenty of 1/2″ thick pieces of plywood and MDF that were needed for the main structure of each machine. Even with my 55W machine I was able to cut through them just fine (at roughly 50% power and 3mm/s). For the vacuum forming machine I had to cut hundreds of small holes in 3/16″ plywood to form the top surface of the vacuum plate – something I definitely didn’t want to do by hand!


Machine Upgrades
Often when people buy these cheap CO2-laser cutting machines from China they immediately spend tons of money and time upgrading various aspects of the machine. However, I’ve been using this machine in its stock configuration for a year now (although obviously very infrequently) and don’t have many complaints. The only customizations I had to do were providing a bucket with distilled water (and some anti-growth and surfactant added in) for cooling, along with a means to vent the exhaust outside (I’m using an air register duct adapter pointing out my garage window).

I have had very few issues with the machine. The 5-gallon bucket cooling method has worked fine for 1-hour cut jobs at 50% power through 1/2″ wood (although it is 60 degrees in the shop in winter!). The stock air assist was plenty for letting the laser get into those deep 1/2″ cuts as well. The ventilation fan is decent for short jobs, but for longer jobs I can start to smell smoke gradually building up in the garage. For this reason, the only upgrade on my mind is a larger duct fan positioned right at the window to ensure that all of the smoke and fumes actually leave the room.
The only failure I had with the machine were the three rocker switches on the side that control power to the machine, the laser, and the cooling pump. One switch came broken when the machine arrived and another broke right when I started these projects. I found a quality part on mouser (R5BBLKREDFF1) that was an easy drop-in replacement, and I was back in business.
Overall, this machine has been reliable, easy to use, and very capable. I’m proud of what I’ve been able to learn to make on it so far and look forward to all of the other great projects I will use it for in the future!